Fussy Cut Geese
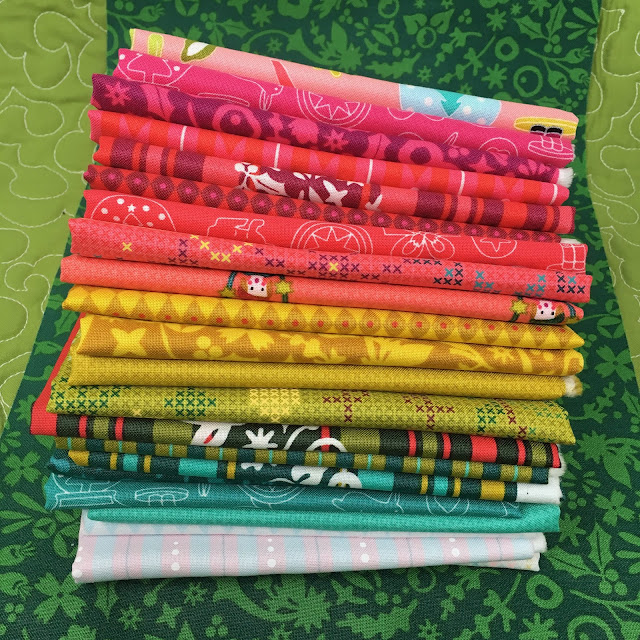
If you've been following me on Instagram, you know I've been participating in the Ultimate Beginner Quilt Along, hosted by the Fat Quarter Shop. I started with this bundle of Alison Glass Holiday fabric.
Quick vocabulary lesson:
The goose is the main fabric of the flying goose; in this case, the piece with the people on it.
The sky are the two small triangles that are sewn onto the goose to make it into a triangle.
My secret weapon for doing this is my.Small Flying Geese Ruler, but you can get the same effect by using any ruler and some painter's tape - your goal here is to create a "window" that shows what will end up being visible on your finished goose.
Once you have found the sweet spot, cut out your goose rectangle! For this block, remember that the finished geese point opposite directions - 4 to the left and 4 to the right.
Next, cut out your sky squares. If you'd like to fussy cut these, you can use half of your ruler from above to check what you'll see. But I decided to take it easy and just use a fabric that wasn't so picky about how it goes. You will need 16 skies for this block, 2 for each goose.
After cutting, draw a diagonal line on the back of each square. This is your "sew line", so if you have a particular way you want the fabric to go, make sure the line goes in the right way. If you want to double-check how the finished block will look, gently fold your sky fabric in half and place it over the goose to see how it will look before you draw the line.
Finally, we are ready to sew! Line up your square on the top half of the rectangle and pin it securely into place. The pinning is the most important part of this step - if either fabric slips then your finished block won't be the right size! After pinning, stitch along the line you drew, starting from the center of the block so the corner doesn't get snagged in the feed dogs. I'm showing two geese at once as a reminder that the geese point in opposite directions so you need to take that into account when sewing the sky fabric on.
Trim a quarter inch away from your sewing line, then press the fabric of the goose back - this ensures you are sewing with the direction of the seam next time instead of against it.
Align your second square on the bottom half of the rectangle and repeat. Remember to sew from the middle!
Once you have made all 8 flying geese, you may need to trim them slightly so that they are actual rectangles, which is perfectly normal! All the hard work is done and we just need to sew them together. Lay out the blocks the way you want them to look, then sew each row together. Press the seams on the top row to the left and the bottom row to the right.
Line up the center of each strip and "nest" the seams together - they are ironed in opposite directions so they should just fit together like pieces of a puzzle. Put a pin here and repeat with the other two joins in your block.
Carefully sew the two pieces together, making sure nothing shifts, and you are done!
Thanks for sewing along with me!
And then I sewed the first six blocks. You can tell that not all the pictures were taken at the same time of day - oops!
Today I'm going to be walking you through the newest block, Zig Zag Flying Geese. My Almost No-Waste Flying Geese tutorial shows how to make a bunch of geese quickly, but for this block I wanted to fussy cut my geese so I am making them in the traditional manner. You will need to use the pattern in the link to get the dimensions of each piece.
Quick vocabulary lesson:
The goose is the main fabric of the flying goose; in this case, the piece with the people on it.
The sky are the two small triangles that are sewn onto the goose to make it into a triangle.
My secret weapon for doing this is my.Small Flying Geese Ruler, but you can get the same effect by using any ruler and some painter's tape - your goal here is to create a "window" that shows what will end up being visible on your finished goose.


Comments